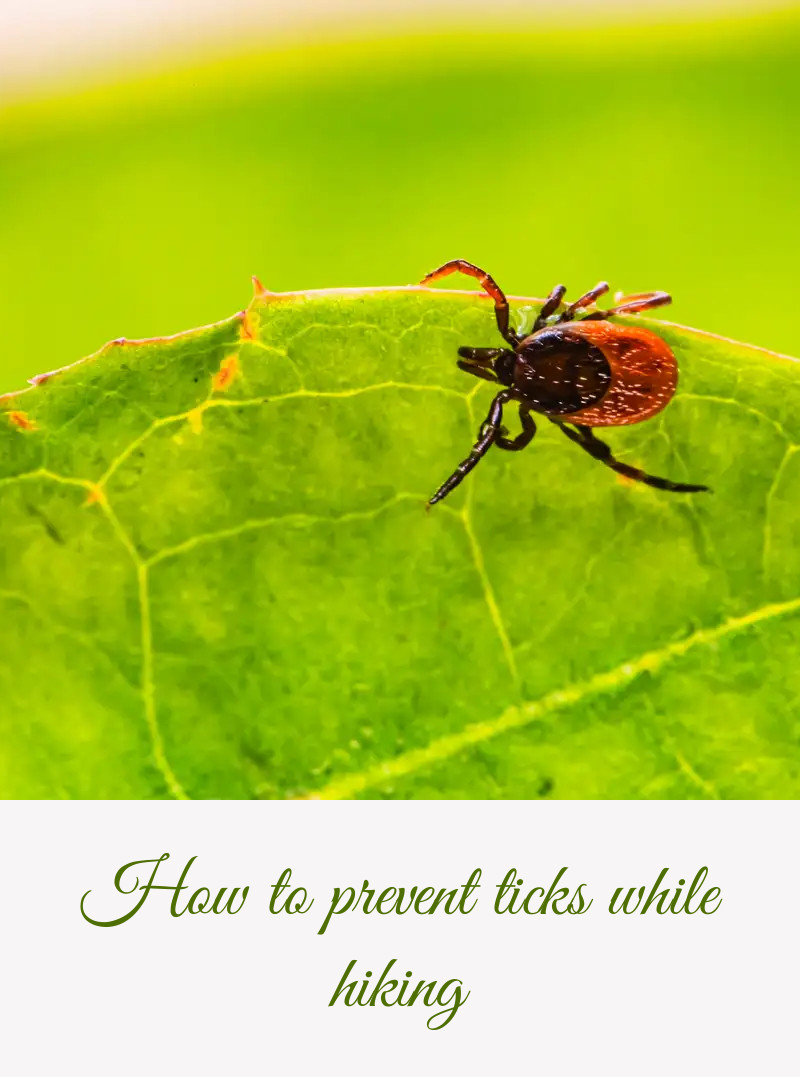
How to prevent ticks while hiking
This post may contain affiliate links. This means that we may receive a small commission from purchases through those links. Read more in our affiliate disclosure.
Your hiking boots are laced, your backpack is ready, but are you prepared for ticks? This guide will arm you with everything you need to know to keep those little critters away.
To avoid ticks while hiking, wear the right clothing, including long sleeves and pants, tuck clothing in, and opt for light colors to easily spot ticks. Utilize tick repellents containing DEET or Picaridin, and be mindful of tick-rich areas, steering clear of tall grass, staying in the middle of trails, and avoiding shady, damp spots. Be aware of the hightened risk in spring and summer, as well as the tick species and associated diseases in the regions you’ll explore.
After the hike, perform a meticulous tick check on yourself, your gear, and pets, followed by proper washing of clothes. If bitten, safely remove the tick using fine-tipped tweezers or specialized tools, avoiding crushing or applying substances to the tick. Seek medical attention if you experience symptoms like rashes, fever, aches, or fatigue, or if you’re in a known tick disease area.
Ticks are more than an annoyance; they’re a potential health hazard. Learn how to dodge these dangerous insects and enjoy a carefree hike.
- Introduction
- How to avoid Ticks during your hike
- Assess Risk
- Wear the Right Clothes
- Use Tick Repellents
- Know the Active Ingredients
- Proper Application of tick repellants
- Longevity and Reapplication:
- Environmental Considerations:
- Beyond Ticks:
- Avoid Tick-dense Areas
- After the Hike: Tick Check!
- When to See a Doctor After a Tick Bite
How to avoid Ticks during your hike
A little bit of preparation can go a long way to preventing nasty tick bites:
Assess Risk
Being aware of the risk of encountering ticks during your hike is the first and crucial step to prevention. Risk assessment is not just about knowing where the ticks are, but also what kinds of ticks might be present and what diseases they might carry.
Location:
Geography plays a significant role in the type of ticks you may encounter. Knowing which tick species inhabit different regions can guide your prevention strategies. Here’s a breakdown of the most common species and diseases:
- United States:
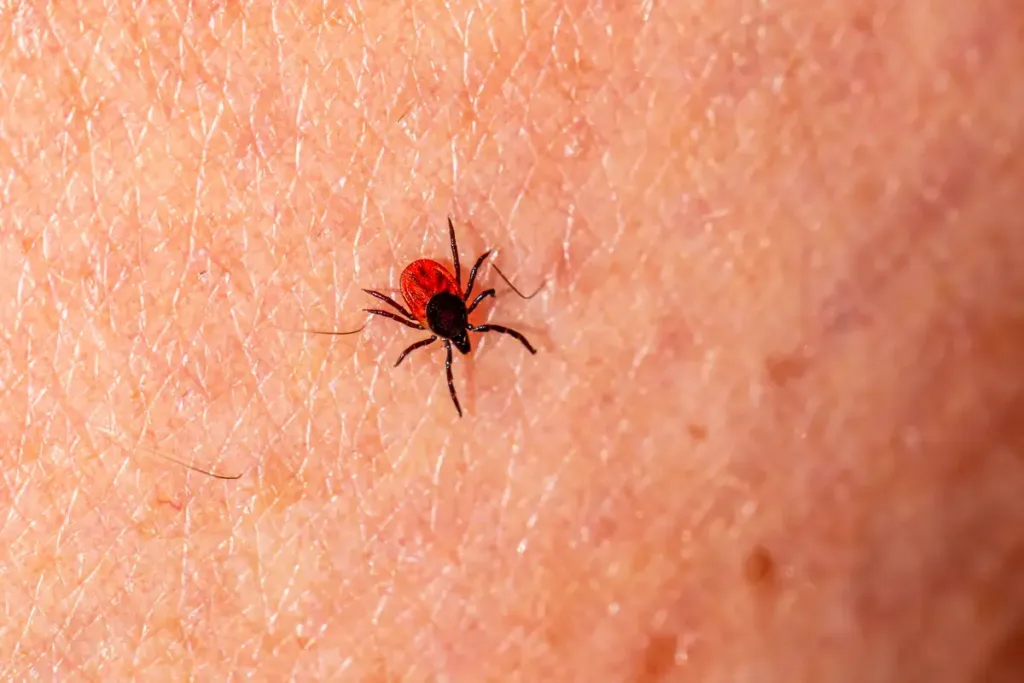
- Northeast & Midwest: Black-legged tick (Ixodes scapularis) – transmits Lyme disease.
- Southeast: Lone Star tick (Amblyomma americanum) – may carry Ehrlichiosis.
- Rocky Mountains: Rocky Mountain wood tick (Dermacentor andersoni) – known for Rocky Mountain spotted fever.
- Europe:
- Central & Eastern Europe: Castor bean tick (Ixodes ricinus) – associated with Lyme disease, as well as FSME (Tick-Borne Encephalitis). FSME is a viral infection and affects the central nervous system and can lead to encephalitis and meningitis. Vaccination is available and often recommended for travelers or hikers in endemic areas.
- Australia:
- Eastern Australia: Paralysis tick (Ixodes holocyclus) – causes tick paralysis.
Season
Ticks are most active in warm and humid environments. Spring and early summer often see a surge in tick activity, so extra precautions during these seasons might be in order. Throughout the year, ticks undergo a life cycle with three primary stages: larva, nymph, and adult:
Spring & Early Summer:
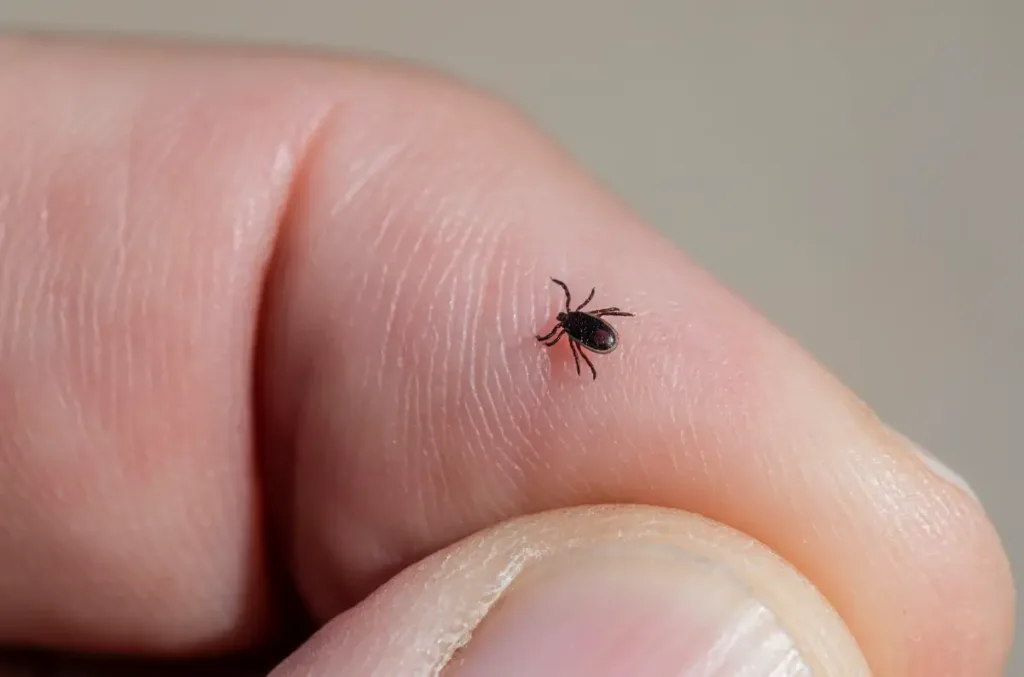
- Nymph Stage:
- Activity Peak: During this period, nymphs are highly active, seeking hosts to feed.
Nymphs are tiny and harder to detect, making them more likely to latch onto you unnoticed. They can still transmit diseases like Lyme, so early detection and removal are crucial.
- Activity Peak: During this period, nymphs are highly active, seeking hosts to feed.
- Larva Stage (in some regions):
- Emergence: Freshly hatched larvae begin seeking their first blood meal.
Though they’re less likely to carry diseases at this stage, their sheer numbers can make them a nuisance.
- Emergence: Freshly hatched larvae begin seeking their first blood meal.
Late Summer & Fall:
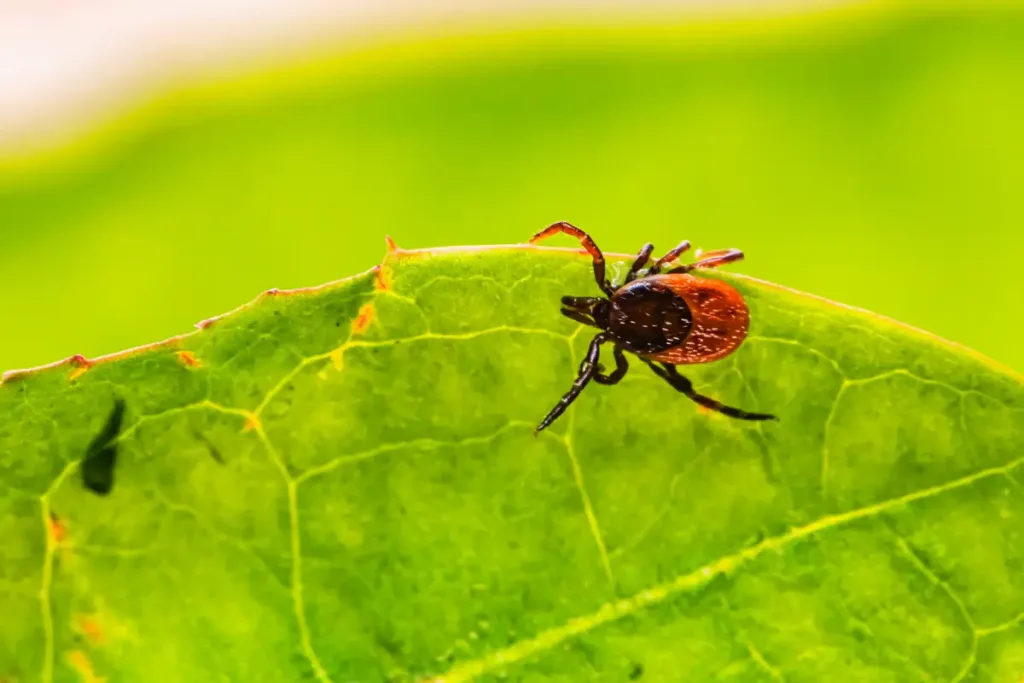
- Adult Stage:
- Seeking Hosts: Adult ticks are more active, especially females looking to feed before laying eggs.
Easier to spot due to their size, adult ticks are still capable of transmitting diseases. This is the time when ticks like the Lone Star tick are on the prowl, increasing the risk of specific illnesses like Ehrlichiosis.
- Seeking Hosts: Adult ticks are more active, especially females looking to feed before laying eggs.
Winter:
- Dormancy & Some Activity:
- Cold Weather Behavior: Many ticks go dormant, but not all. Some species, such as the black-legged tick, can remain active when winter temperatures are mild.
Though generally less of a concern, winter hikes in milder regions still necessitate vigilance, especially if the area is known for winter-active tick species.
- Cold Weather Behavior: Many ticks go dormant, but not all. Some species, such as the black-legged tick, can remain active when winter temperatures are mild.
Wildlife Presence
Deer, rodents, and other small mammals are often hosts for ticks. Trails with a high population of these animals might mean a greater tick presence.

Wear the Right Clothes
The clothes you don when hiking are not just a statement of style but a barrier against ticks. The right attire is your first line of defense, transforming your hiking ensemble into a tick-repelling fortress. Here’s how to do it:
1. Fabric Choices:
- Tightly Woven Materials: Fabrics like nylon or polyester create a barrier that’s tough for ticks to penetrate.
- Pre-Treated Clothing: Some clothes come treated with permethrin, an insecticide that repels and even kills ticks on contact. You can also treat your gear with permethrin spray.
2. Layering and Coverage:
- Long Sleeves and Pants: It’s essential to wear clothing that covers as much skin as possible. This doesn’t mean sweltering in heavy clothes in the summer; lightweight, breathable fabrics can provide coverage without overheating.
- Gaiters: These fabric shields can be worn over your shoes and lower pant legs, creating an extra barrier against ticks that might try to climb aboard from the ground.
- Tuck your pants in: By tucking your pants into your socks, you seal the gap ticks could use to get to your skin on the shortest way possible.
3. Color Selection:
- Light Colors: Wearing light-colored clothing makes it easier to spot ticks against the fabric. A quick glance can reveal a tick trying to hitch a ride, allowing for prompt removal.
4. Specialized Hiking Apparel:
- Tick-Resistant Clothing: Some outdoor brands offer clothing specifically designed to deter ticks, incorporating tightly woven fabrics, special treatments, and intelligent design to thwart these arachnids.
- Ventilation: Tick-resistant doesn’t mean stifling. Many modern hiking clothes offer ventilation features that combine protection with comfort.
5. Footwear:
- Closed-Toe Shoes: Avoid sandals or open-toed shoes. Ticks are often found in grass and underbrush, so a closed-toe shoe provides essential protection.
- High Boots: Higher boots give an extra layer of defense, especially if paired with gaiters.
6. Aftercare:
- Hot Wash: After a hike, wash your clothes in hot water and then dry on a high-heat setting, as ticks are more susceptible to heat than cold. This ensures that any ticks that did make it onto your clothing won’t survive the journey.
Use Tick Repellents
A fortress may have walls, but it’s the guards that keep the invaders at bay. Tick repellents are your sentries, your additional layer of protection, standing watch over your skin and clothing. Here’s how to wield them effectively:
Know the Active Ingredients
- DEET: A widely used repellent, DEET confuses ticks, making it hard for them to land and latch onto your skin. Available in various concentrations, it’s often a go-to choice for many hikers.
- Picaridin: A more recent alternative to DEET, Picaridin is odorless and less greasy. It’s as effective as DEET but can be more pleasant to wear.
- Permethrin: Used on clothing, gear, and even tent fabric, permethrin not only repels ticks but can kill them on contact. This repellent must not be applied to the skin.
Proper Application of tick repellants
- Skin: Apply repellent on all exposed skin but avoid the eyes, mouth, and hands (especially if you’ll be eating or drinking).
- Clothing: Clothing treated with repellents like permethrin creates a lasting barrier against ticks.
- Children: Be cautious with repellent use on children. Read the instructions carefully, and opt for repellents with lower concentrations of active ingredients.
Longevity and Reapplication:
- Duration: Not all repellents are created equal. Check the label for how long the protection lasts and reapply as needed. Sweat and water exposure may require more frequent reapplication.
- Pre-Treated Gear: Some hiking gear comes pre-treated with permethrin, providing long-lasting protection. This treatment can last through several washes.
Environmental Considerations:
- Ecosystem Impact: Be mindful of where and how you apply repellents, especially near water sources, as some repellents can affect aquatic life.
- Natural Alternatives: There are plant-based repellents like oil of lemon eucalyptus (OLE) that offer a more natural approach, though they may be less effective against ticks.
Beyond Ticks:
- Multifunctional Protection: Many tick repellents also ward off mosquitoes and other biting insects, providing comprehensive protection against a variety of outdoor nuisances.
Avoid Tick-dense Areas
Nature’s beauty is vast and diverse, yet not every picturesque scene is your friend on the trail, especially when it comes to ticks. These little hitchhikers love specific environments, and by recognizing and avoiding these areas, you’ll enhance your tick avoidance game. Here’s the guide to those hidden danger zones.
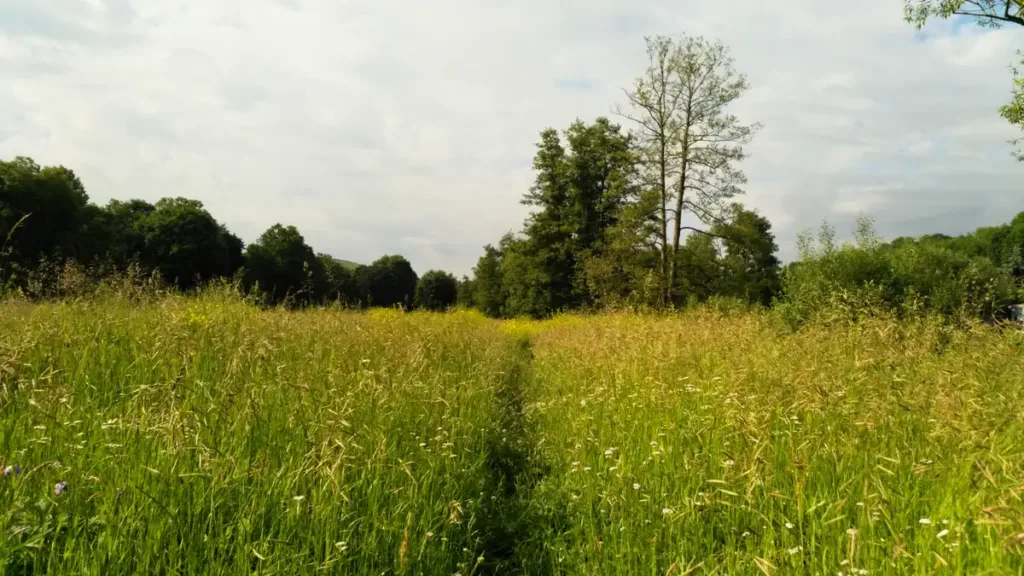
Avoid Tall Grass
Tall grass is a tick’s banquet hall. Here’s why, and what you can do about it:
- Why Ticks Love It: Ticks climb tall grasses to perform what’s called “questing,” extending their front legs to latch onto passing hosts. It’s their prime spot for finding a meal.
- Avoidance Strategy:
- Stick to Clear Trails: Stay on well-maintained paths, where the grass is short or nonexistent.
- Wear Protective Clothing: If crossing tall grass is unavoidable, make sure to wear long pants and treat clothing with repellents.
- Post-Crossing Check: After moving through tall grass, perform a quick tick check, even if it’s just a glance over your clothing.
Stay in the Middle of Wide Trails
Wide trails aren’t just for leisurely strolls; they’re also strategic pathways to minimize tick exposure. Here’s the how and why:
- Why It Works: Staying in the middle of a trail limits your contact with grass, bushes, and leaf litter, where ticks often reside.
- The Strategy:
- Mind the Edges: The edges of trails, even wide ones, can be lined with tick-favored vegetation. Staying centered minimizes exposure.
- Embrace the Space: Wide trails often offer the best visibility and give you room to maneuver away from potential tick habitats.
- Group Hiking Etiquette: If hiking in a group, remind everyone to maintain central positioning to collectively reduce tick risk.
Avoid Shady, Damp Areas
Not all shady spots are restful havens; some are ticking time bombs. Here’s how to recognize and circumvent these areas:
- Why Ticks Thrive Here: Damp, shaded environments provide the humidity that ticks need to survive. They love the underbrush, moist soil, and sheltered areas near water sources.
- Navigational Know-How:
- Identify Risk Zones: Recognize areas with dense vegetation, near streams, or shady woods as potential tick hotspots.
- Choose Rest Stops Wisely: Pick sunny, dry spots for breaks and picnics, keeping a safe distance from damp, shaded areas.
- Trail Selection: When planning your hike, consider researching or asking local experts about the terrain to gauge the likelihood of tick-infested areas.
After the Hike: Tick Check!
The hike may be over, the trail behind you, the memories fresh, but one final task awaits – the tick check. Here’s how to conduct this essential examination:
1. Immediate Inspection:
- Clothing Check: Before even getting into your car, give your clothing a thorough once-over. Ticks can be sneaky, so check seams, folds, and pockets.
- Gear Glance: Don’t forget your backpack, shoes, and other gear. Ticks can latch onto anything, not just clothing.
2. Full-Body Scan:
- Mirror Method: Utilize a mirror to check the places you can’t easily see, like your back, behind the knees, or under the arms.
- Shower Strategy: Taking a shower within two hours of coming indoors has been shown to reduce the risk of Lyme disease. It provides an opportunity to perform a thorough tick check and washes off any unattached ticks.
3. Buddy System:
- Helping Hands: If you’re hiking with others, consider helping each other check those hard-to-see places.
- Children Check: If hiking with children, perform a detailed inspection, as kids might not notice or recognize a tick.
4. Don’t Forget Fido:
- Pet Patrol: If you’ve brought your four-legged friend along, give them a tick check too. They’re just as susceptible, if not more so.
5. Clothing Care:
- Hot Wash: Washing your clothes in hot water and then drying on a high-heat setting ensures that any stowaway ticks won’t survive.
How to Safely Remove a Tick
Finding a tick attached to your skin is not a moment for panic, but for purposeful action. Here’s how to proceed:
How to Use a Tick Removal Tool
Specialized tick removal tools are designed to make the extraction process smooth and effective. Here’s a step-by-step guide:
- Choose the Right Tool: Fine-tipped tweezers are ideal. There are also tick removal tools specifically designed for the job.
- Grasp with Care: Position the tweezers as close to the skin’s surface as possible, firmly grasping the tick without pinching your skin.
- Steady Pull: Using even pressure, pull the tick upward slowly and steadily. Jerking or twisting can cause parts of the tick to break off.
- Clean and Sanitize: After removal, clean the area with soap and water, rubbing alcohol, or an iodine scrub.
- Dispose of the Tick: Place it in a sealed bag or container. Some prefer to save the tick for testing, especially in areas known for tick-borne diseases.
Don’t Crush or Scratch a Tick
The urge to scratch or crush a tick is natural but misguided. Here’s why:
- Potential Pathogen Release: Crushing a tick might release pathogens, increasing the risk of infection.
- Avoid Fingernail Contact: Using fingernails can cause parts of the tick to remain in the skin, leading to irritation or infection.
- Use Proper Tools: Always utilize fine-tipped tweezers or a specialized tick removal tool. If none are available, protect your fingers with tissue or gloves.
Don’t “Paint” a Tick
Folk remedies, such as “painting” a tick with nail polish, petroleum jelly, or other substances to suffocate it, are strongly discouraged. Here’s why:
- Ineffective Method: Ticks can survive long periods without air, and these methods don’t lead to quick release.
- Potential Dangers: Applying substances can cause the tick to regurgitate saliva into the wound, potentially increasing the risk of transmitting diseases.
- Stick to Proven Techniques: Follow the medically approved tick removal methods mentioned earlier for a safe and effective process.
When to See a Doctor After a Tick Bite
A tick bite isn’t just a fleeting encounter with nature; it’s a biological exchange that requires monitoring and, sometimes, medical intervention. Not every tick bite leads to illness, but recognizing the signs that it might is essential. Here’s when to seek professional help:
1. Noticeable Symptoms:
- Rash: A red spot or rash near the bite site, especially one that expands into a “bull’s-eye” pattern, may be a sign of Lyme disease.
- Fever or Chills: Flu-like symptoms following a tick bite could be indicative of various tick-borne illnesses.
- Aches and Joint Pains: Unexplained body aches, headaches, or joint pains should not be ignored.
- Unusual Fatigue: Feeling unusually tired or lethargic without a clear cause can be a symptom of illness.
2. Embedded Tick Parts:
- Incomplete Removal: If parts of the tick remain embedded in the skin after your removal attempt, medical assistance may be needed for proper extraction.