How to choose your first hike as a beginner
This post may contain affiliate links. This means that we may receive a small commission from purchases through those links. Read more in our affiliate disclosure.
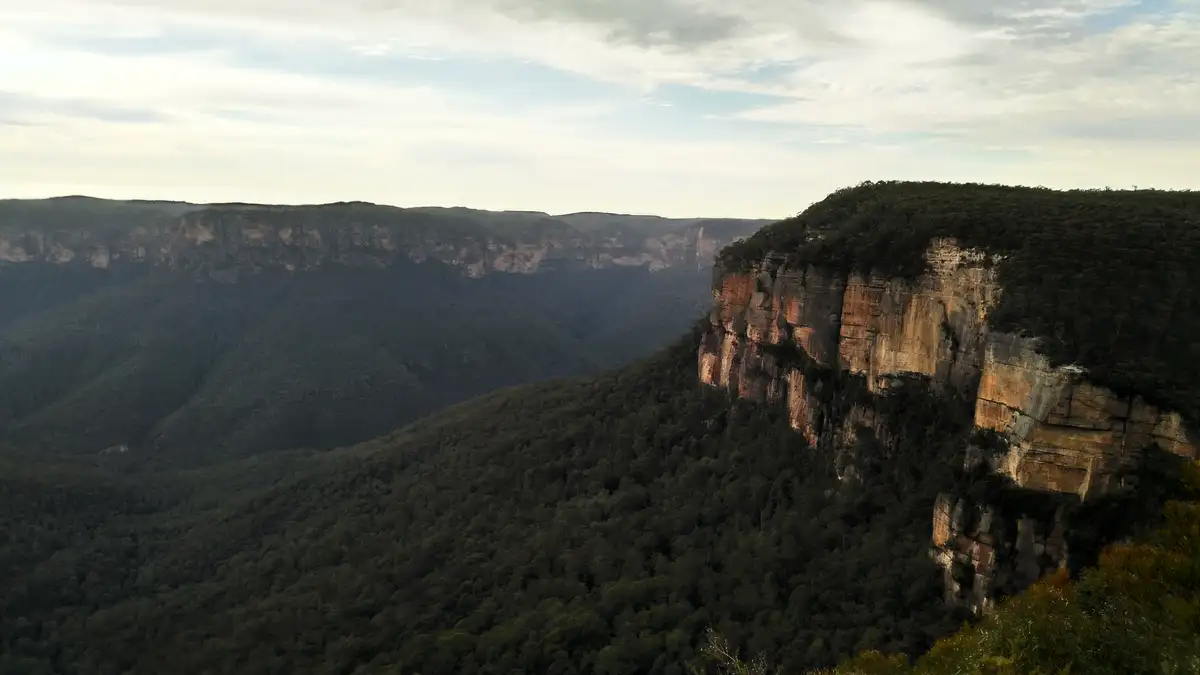
Embarking on your first hiking journey can be as thrilling as it is daunting—where do you even start? Fear not, my fellow aspiring adventurers! With a few pointers in your pocket, you can pick a trail that matches your fitness level.
Tips for Choosing Your First Hike
Start Small
According to the American Hiking Society, the biggest blunder beginners make is biting off more than they can chew. For your inaugural trek, opt for a trail that’s under 5 miles and boasts minimal elevation gain—less than 1000 feet is ideal.
You need to match the hike to your current ability, not the mountaineer you aspire to be just yet! If you’re more of a Netflix marathoner than a road runner, stick to an easy trail. On the other hand, if you’re already hitting the gym regularly, you might be comfortable tackling a moderate trail that stretches 5-8 miles with up to 2000 feet of elevation gain.
Trail Features to Take into Account
To choose your perfect trail, consider you can gather information from resources like Alltrails or similar websites; or local guidebooks, which often contain hidden gems that are not so easy to find online.
Distance
Begin with assessing the distance. A shorter trail, around 3 to 5 miles, might be perfect as you start to get your hiking legs under you. The distance will affect not just the duration of the hike, but also the energy and preparation required.
Difficulty
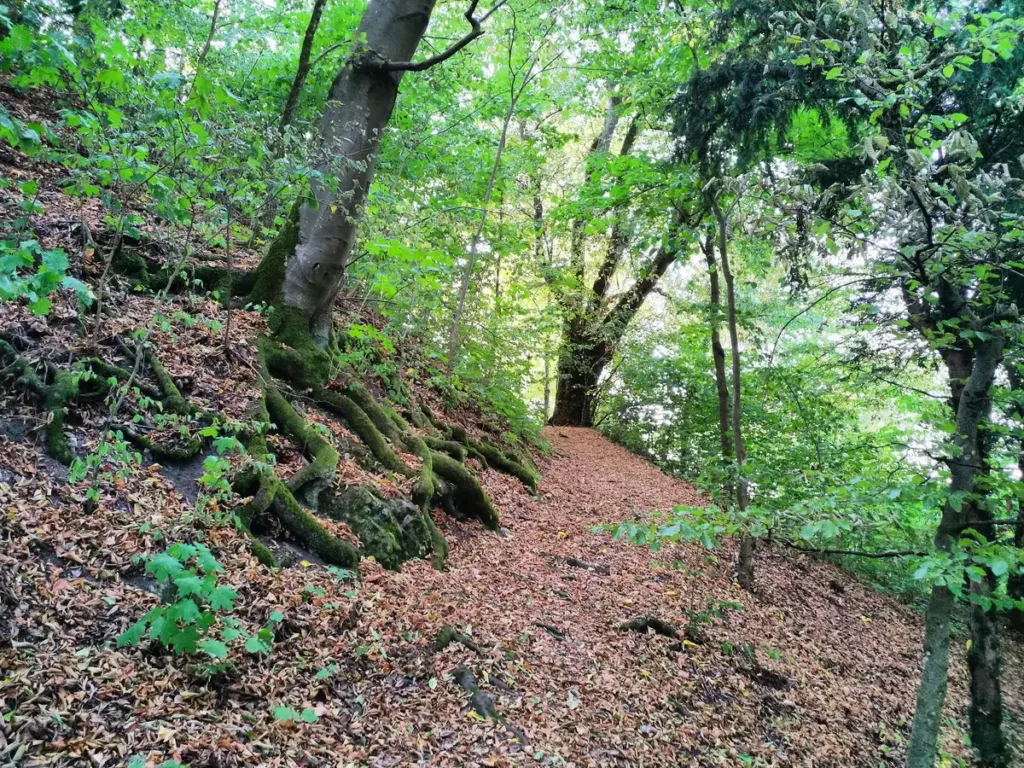
The difficulty level of a trail can be influenced by several factors including the path’s steepness, the terrain type, and overall accessibility. Some trails are smooth and flat, ideal for beginners, while others may involve challenging climbs or rocky paths suitable for more seasoned hikers.
Loose rocks or sandy sections can sap more energy than you’d think! A smooth forest path, on the other hand, allows for smooth sailing. You can find out how different terrain types influence your hiking speed in our hiking time calculator!
Elevation Gain
Elevation gain is a critical metric to consider because it directly impacts the physical challenge of the hike. A trail with high elevation gain over a short distance will be much steeper and more strenuous than a trail with the same elevation spread over a longer distance.
I learned this the hard way on my first trail run. 600m (2000 feet) elevation gain over 13 km (8 miles) doesn’t sound so bad, does it? But, it is. It was all stairs. I walked like a penguin the next day. Stay under 1000 feet as a beginner!
Trail Features
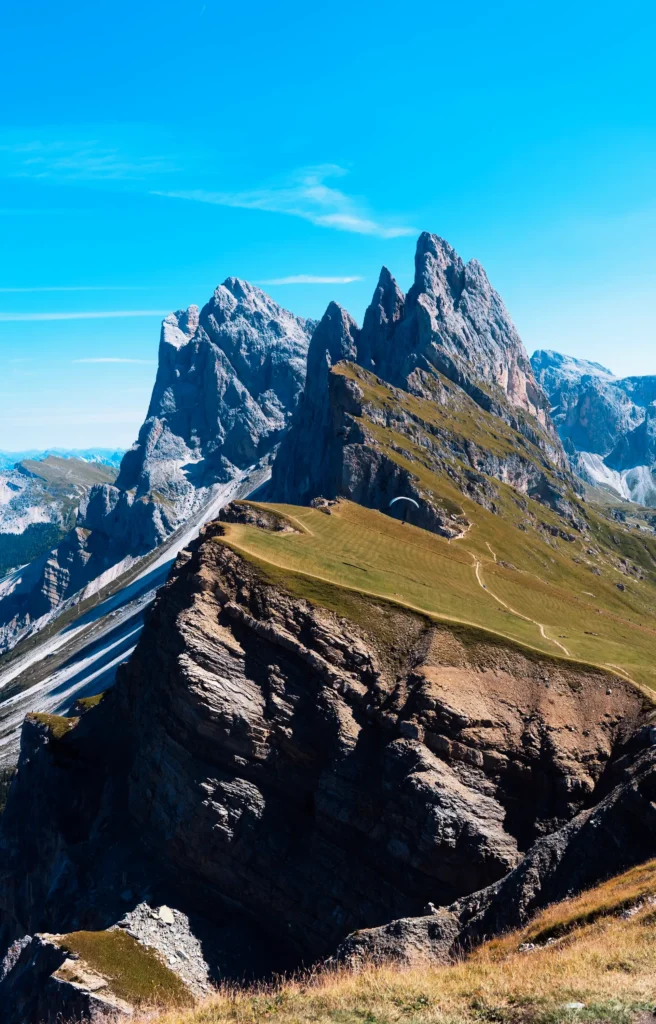
What makes a trail unique? Some trails feature scenic overlooks, waterfalls, or are rich with flora and fauna. Identifying what you want to see and experience can significantly enhance your hiking adventure. And you’ll have a lot more energy if you’re enjoying yourself!
Popularity
Choosing a well-trodden, popular trail can be a wise choice for beginners. These trails are usually well-marked and frequented by other hikers, which can provide a sense of security for those just starting out.
This way, you won’t have to worry about navigation – simply follow the signs; and even if you get confused, there will be someone nearby you can ask for advice!
Loop vs Out-and-Back
Decide between a loop or an out-and-back trail. Loop trails offer new scenery throughout the hike, keeping the journey exciting. Out-and-back trails, however, can be reassuring as you return the same way you came, making navigation easier for a novice.
Plus, if you’re worried about not making it back in time, you can decide on a turn-around time – about 40% of the total time you have is ideal. For example, if you want to be back in 3 hours, you could set an alarm after 1h 15 minutes, at which point you turn around and head back.
Time to Get There
Don’t forget to consider the travel time to and from the trailhead. A trail might only take an hour to hike, but if it’s a three-hour drive from your home, that’s a full day commitment! And if your return time is anywhere close to nightfall, bring a light, ideally a headlamp.

Trail Rating Systems
Different regions around the world use various systems to classify the difficulty of trails, and getting familiar with these can help you pick a hike that’s just right for your skill level. Here are a few examples of trail rating systems from around the globe:
United States
In the U.S., most trails are rated on a scale from easy to strenuous. This system is pretty straightforward:
- Easy: These trails are generally flat and well-maintained, making them accessible for all ages and abilities. They often have minimal obstacles and are typically under 3 miles in length.
- Moderate: These trails might include moderate elevation changes (up to 2,000 feet), and could involve some rougher terrain. They are suitable for those with some hiking experience or decent physical fitness.
- Strenuous: These are challenging hikes with steep ascents, possibly covering very uneven terrain, and significant elevation gains (over 2,000 feet). They require good physical condition and proper hiking gear.
Europe: The Alpine System
The Alps, traversing countries like France, Italy, Switzerland, and Germany, utilize a color-coded grading system:
| Grade | Type | Trail Description | Marking: SWW (Swiss) | Marking: DAV (German) |
|---|---|---|---|---|
| T1 | Hiking | The trails are well-developed and marked. Even somewhat exposed places are very well secured. You’ll find these trails flat or slightly inclined, making them perfect for a relaxed walk in trainers. | Yellow | Blue |
| T2 | Mountain Hiking | These trails have continuous route and passage markings. Expect some steep sections where the danger of falling is not entirely excluded. The path calls for some steady footing, making trekking shoes a good idea. | White-red-white | Blue or red |
| T3 | Challenging Mountain Hiking | On these trails, a footpath is usually visible, and exposed places are mostly secured with ropes or chains. The terrain can include partially exposed areas with dangers of falling, gravel plains, and pathless steep terrain. | White-red-white | Red |
| T4 | Alpine Walking | Paths may not always be available, and sometimes you might need to use your hands to keep going. The trails are mostly exposed, including tricky grass slopes, rocky sections, and simple snow-covered glacier passes. | White-blue-white | Red or black |
| T5 | Challenging Alpine Walking | Trails often lack a clear path and may include individual, simple climbing sections. Expect exposed, challenging terrain with steep rocky slopes and snow-covered glaciers and firn fields where slipping is a risk. | White-blue-white | Black |
| T6 | Difficult Alpine Walking | These trails are mostly unmarked and without a clear path, including climbing sections up to grade II. The terrain is often very exposed, with tricky rocky slopes and snow-covered glaciers posing increased risks. | Mostly unmarked | Mostly unmarked |
Australia: The Australian Walking Track Grading System
Australia uses a numerical grading system to categorize hiking trails:
- Grade 1: No bushwalking experience required, and the path is hard surfaced. These are accessible to wheelchairs and strollers.
- Grade 2: Easy, suitable for families and novice hikers. These are mostly flat and don’t require navigation skills.
- Grade 3: Moderate hikes that require some bushwalking experience. The path may be rough and have short steep hills.
- Grade 4: These tracks are for more adventurous and experienced hikers. They likely involve longer distances, variable terrain, and require navigation skills.
- Grade 5: Challenging hikes demanding advanced outdoor knowledge and skills, including navigation and emergency first aid.