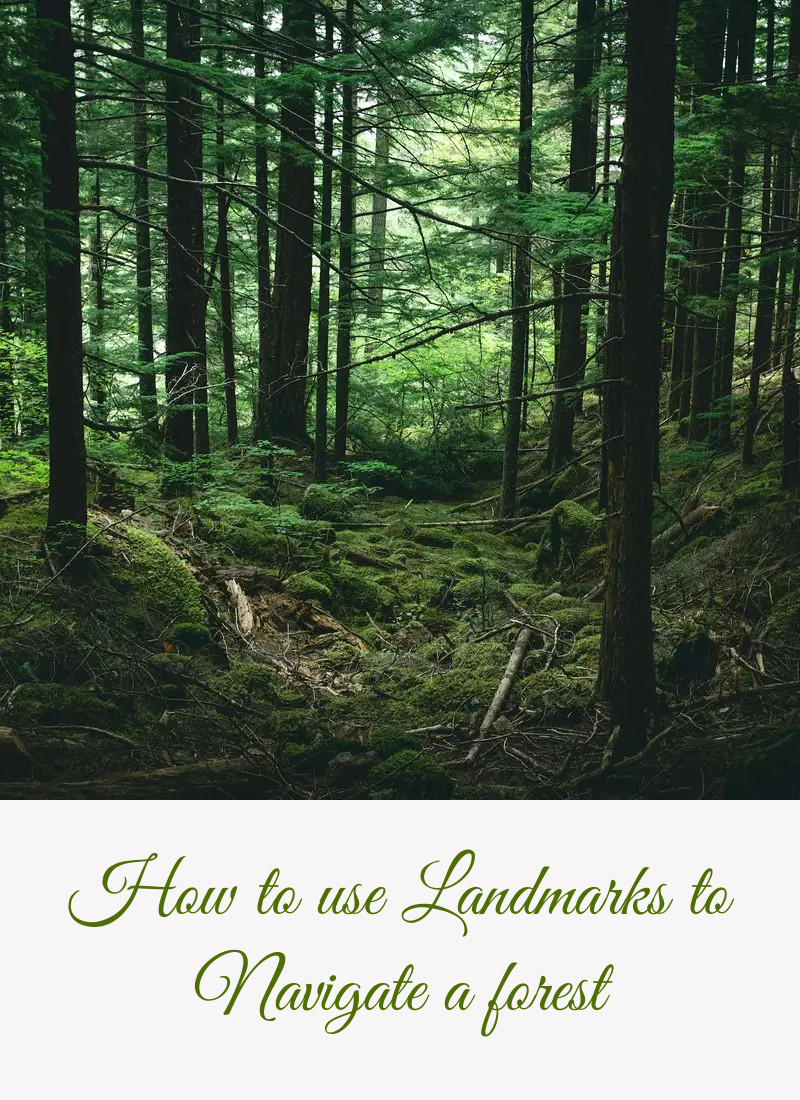
How to use Landmarks to Navigate a forest
This post may contain affiliate links. This means that we may receive a small commission from purchases through those links. Read more in our affiliate disclosure.
Landmarks, as we call them in navigation, are easily identifiable physical features in the landscape. They’re our anchors, the stable points in an otherwise shifting sea of trees and foliage. It’s a simple concept, yet it underpins much of our understanding of position and movement in space, whether we’re in a city or a dense forest. In fact, humans have been using this technique for thousands of years, way before the advent of modern tools such as compasses or GPS.
Identifying Landmarks in a Dense Forest
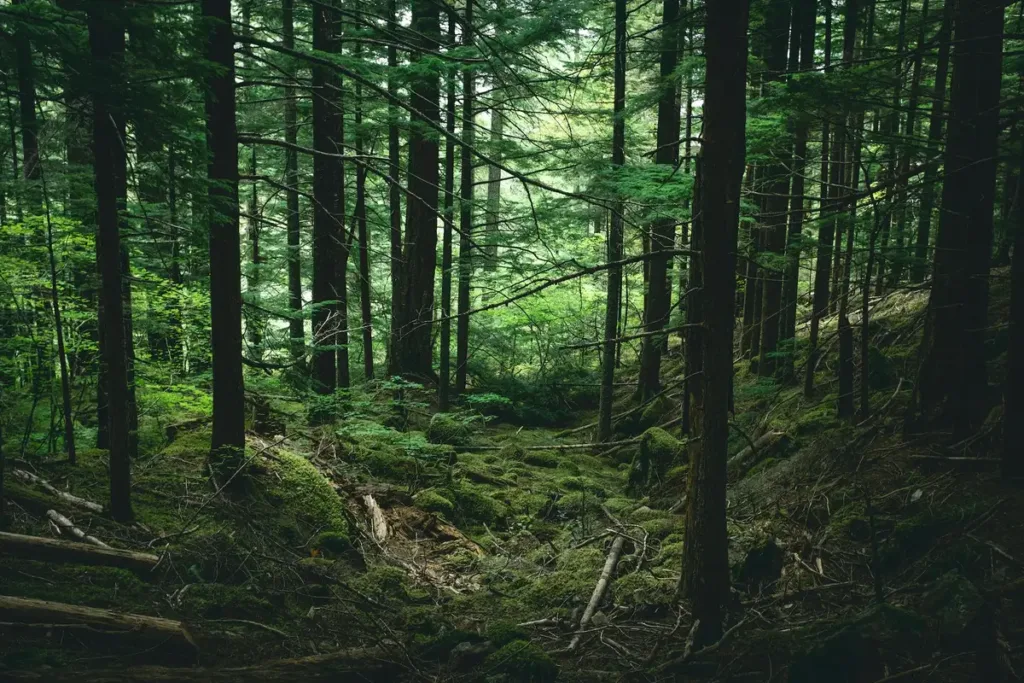
In a dense forest, where everything seems to blur into a canvas of green and brown, the art of identifying landmarks becomes an essential survival skill. What we’re looking for here are distinctive features in the forest that stand out, features that break the monotonous pattern.
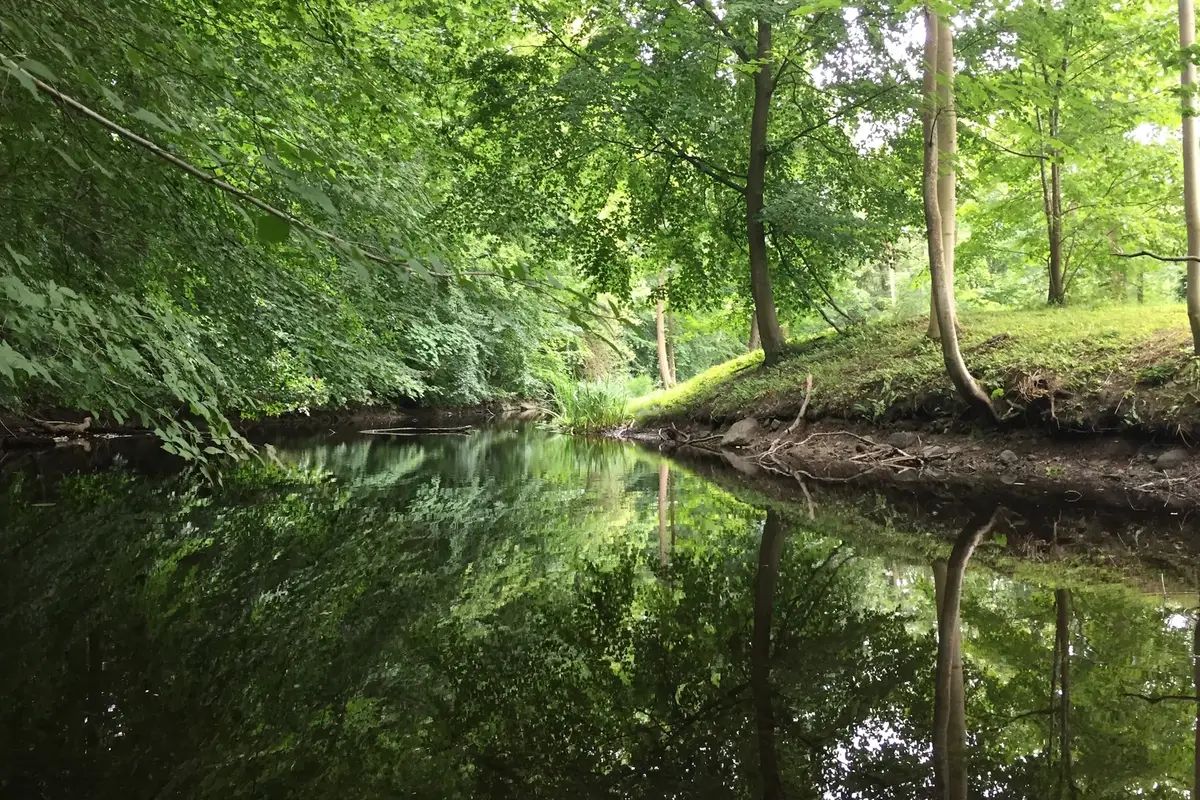
An odd-shaped tree with gnarled branches, a towering rock formation that protrudes above the canopy, a bend in a river – these could all serve as your landmarks. And don’t forget to look down too! A patch of unusual colored moss or a distinctive arrangement of stones could also be your guide.
Possible Landmarks in a Dense Forest
Navigating in a dense forest is extra challenging due to limited visibility and a high degree of similarity in the surroundings. But with the right approach, you can turn these challenges into advantages.
- Close-range Landmarks: In dense forests, you can’t always rely on distant landmarks due to limited visibility. Instead, focus on closer, smaller landmarks such as a distinctive tree, a large boulder, or a unique shrub. These close-range landmarks will guide your immediate path.
- Tactile and Auditory Landmarks: Dense forests can limit visual navigation, but they offer abundant opportunities for tactile and auditory landmarks. The feel of the terrain under your feet or the sound of a running stream nearby can serve as additional cues to orient yourself.
- Path of Least Resistance: In dense forests, vegetation and terrain often dictate the easiest route. Animal paths, clearings, or areas with less dense vegetation can serve as natural ‘corridors’ and landmarks themselves.
- Vertical Landmarks: When horizontal visibility is limited, look up. The canopy, hill slopes, or tall trees can serve as effective landmarks. Be aware of the forest’s vertical dimension: the shape of the tree line, a tall tree sticking out, or a dip in the canopy.
- Changes Over Time: Forests are dynamic, and changes can serve as landmarks. A newly fallen tree, seasonal changes in foliage, or even the presence of fungi and other decomposers can indicate your location if you’re familiar with the forest.
- Compass Bearings to Landmarks: In dense forests, it’s easy to lose sight of your landmarks. Take a compass bearing to your landmark when you can see it, and follow the bearing when the landmark disappears from sight.
Techniques for Using Landmarks
How to Select Landmarks?
While being in a forest might feel like being in a sea of indistinguishable trees, once you start observing closely, you’ll see that each part of the forest has its unique characteristics. You can use large and unique trees, clusters of vegetation, rock formations, or changes in the terrain as landmarks.
Natural formations can be particularly helpful, especially those that can be observed from different angles and distances. Large boulders, unique trees with distinctive shapes or bark patterns, fallen logs, or clearings can all serve as effective landmarks. Their uniqueness ensures they won’t be easily confused with other parts of the forest.
For landmarks to be most effective, they need to be distinguishable and stable. The idea is to choose something that won’t move or change drastically over a short period of time. Choosing a smaller, less distinct tree could be problematic as it can easily be confused with others, and its appearance may change with the seasons.
Also, be mindful of your elevation. If you’re moving uphill or downhill, the appearance of your landmark could change. In this case, three-dimensional landmarks, like distinctive rock formations or large trees, can be more effective.
Utilizing the Landmarks
Once you have identified your landmarks, the next step is to understand how to use them for navigation. A good strategy is to maintain a constant line of sight to your landmark as much as possible. As you move, keep your landmark in view to ensure you’re heading in the right direction.
Another useful technique is “leapfrogging” from one landmark to the next. Choose a landmark ahead of you and one behind you. As you move forward and your forward landmark becomes your new ‘behind’ landmark, choose another one ahead. This way, you’ll always have two points of reference and you’re less likely to get turned around.
Remember to frequently look behind you, especially after passing a landmark. Landscapes can look dramatically different when viewed from the opposite direction. Familiarizing yourself with how your landmarks look from different angles and directions will be very helpful when you’re returning or if you get turned around.
Triangulation
Triangulation is another powerful technique when using landmarks for navigation. It involves using a map and compass to locate your position based on the angles between you and at least two recognizable landmarks.
First, identify two recognizable points in the landscape that you can also find on your map. Using your compass, take a bearing from your location to each point. Then, draw a line from each landmark along the corresponding bearing on your map. Where these two lines intersect is your location.
This video explains the concept beautifully:
Triangulation requires a good understanding of how to use a compass and map, but with a little practice, it can become a valuable tool in your navigation arsenal.
Recording and Remembering Landmarks
The dense forest is a living, breathing entity. It changes with the seasons, it changes with the angle of the sunlight, and it most certainly changes as you weave your way through it. To help your future self, it might be useful to record your landmarks. You could take photographs, sketch them in a notepad, or describe them in words.
It’s important, however, that when it comes to marking your trail or creating man-made markers, we must adhere to the principles of Leave No Trace. The forest is not just our playground, it’s a complex ecosystem that we’re merely passing through.
Safety Aspects of Landmark Navigation
Now, even though using landmarks as navigational aids can be a real life-saver in the dense forest, there are certain safety aspects that we should always keep in mind. First and foremost, never fully rely on just one type of navigation method. Using landmarks should be part of your wider navigational strategy, complementing other methods such as the use of a compass, a map, or a GPS device. Even the best navigators can get disoriented in the wild, especially in a dense forest where visibility is often limited.
When navigating via landmarks, it’s crucial to keep your bearings, literally and figuratively. A simple misjudgment of distance or direction from a landmark can send you off the intended path. Regularly cross-referencing your position with a map or a GPS can prevent this. Also, beware of “false friends”. A tree might look distinctive from one angle but appear utterly ordinary from another. The play of light and shadows, especially around dawn and dusk, can dramatically alter the appearance of your landmarks.
Exercises to Hone Your Landmark Navigation Skills
Practice, as they say, makes perfect. To improve your landmark navigation skills, you can carry out a few exercises. Try going on a trail you’re familiar with and identify potential landmarks along the way. Practice the leapfrogging technique, and see if you can navigate the trail using just these landmarks. Once you’re comfortable, move onto a new trail, or try the same trail in different weather conditions or times of the day. You’ll be surprised at how different things can look.
You can also practice triangulation using two landmarks. This is a great exercise to improve your spatial awareness and understand the relationship between different points in a landscape.
Adopting Advanced Navigation Techniques
As you become more confident with using landmarks for navigation, you can start exploring more advanced techniques. These might include celestial navigation using the sun, the moon, or the stars as your landmarks, or utilizing certain natural signs for direction finding. For example, moss often grows on the north side of trees in the Northern Hemisphere. Though it’s not a hard and fast rule, it could give you a hint when you’re in a pinch. The Natural Navigator by Tristan Gooley offers a wealth of information on this topic.
Conclusion
There you have it, folks. Using landmarks for navigation in a dense forest can be challenging, but with careful observation, practice, and a respect for the dynamism of the forest, it can become second nature. It’s a skill that harks back to our ancestors, a reminder of our intimate relationship with the land. Remember to respect the forest, leave no trace, and stay safe. Happy hiking!