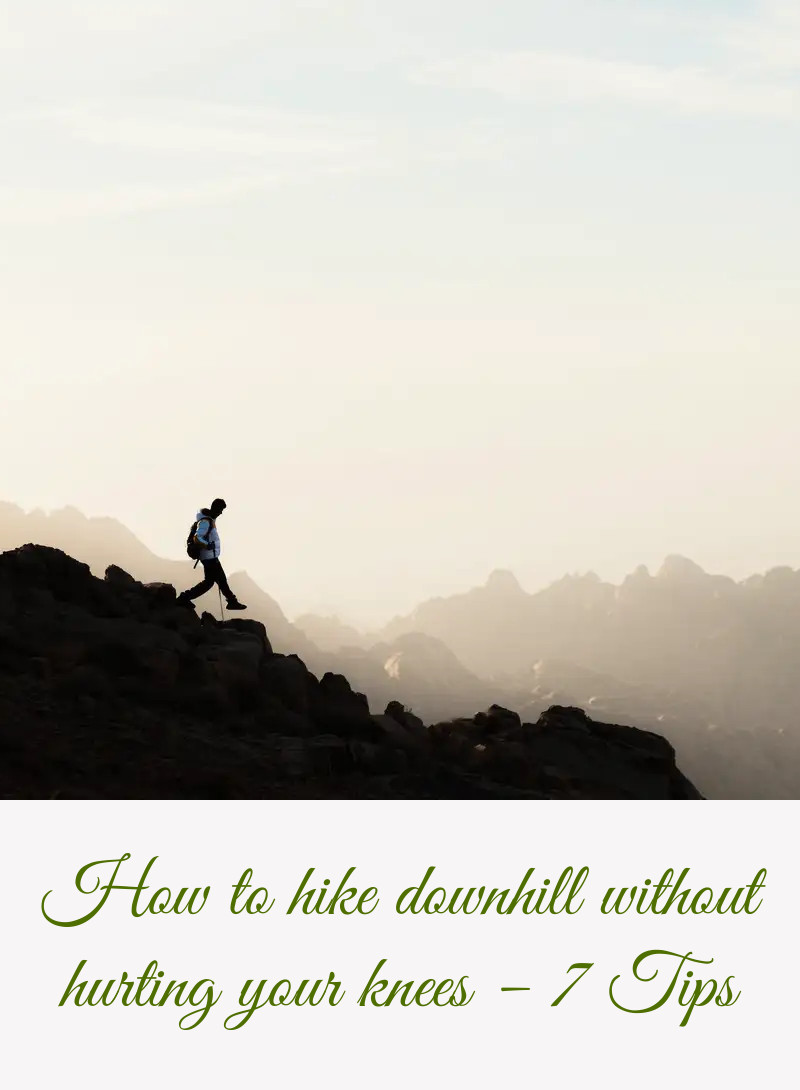
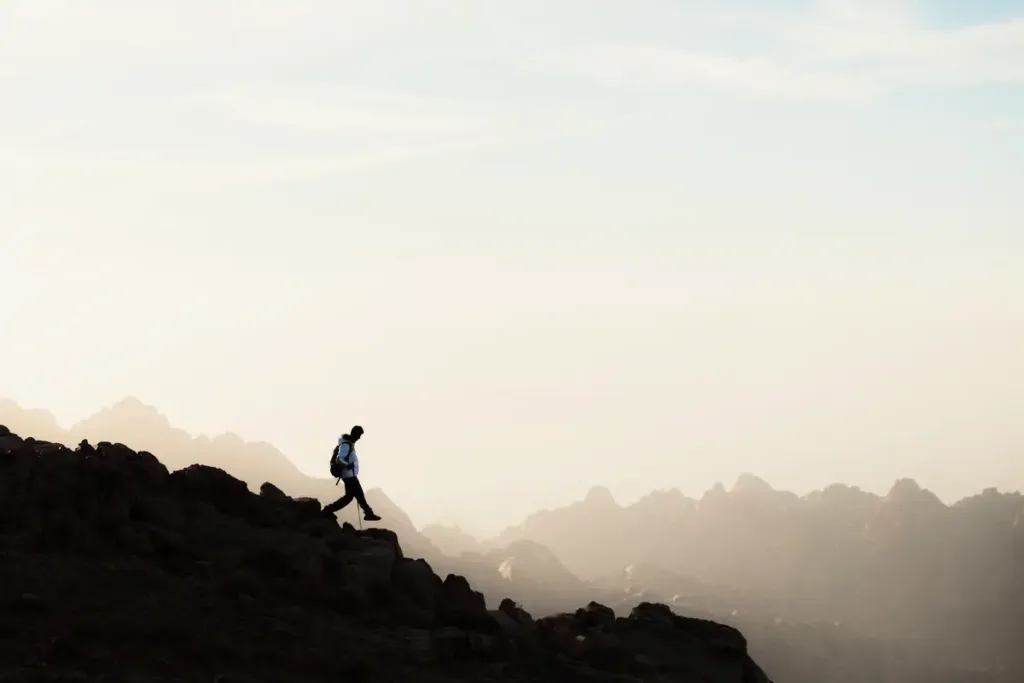
How to hike downhill without hurting your knees – 7 Tips
This post may contain affiliate links. This means that we may receive a small commission from purchases through those links. Read more in our affiliate disclosure.
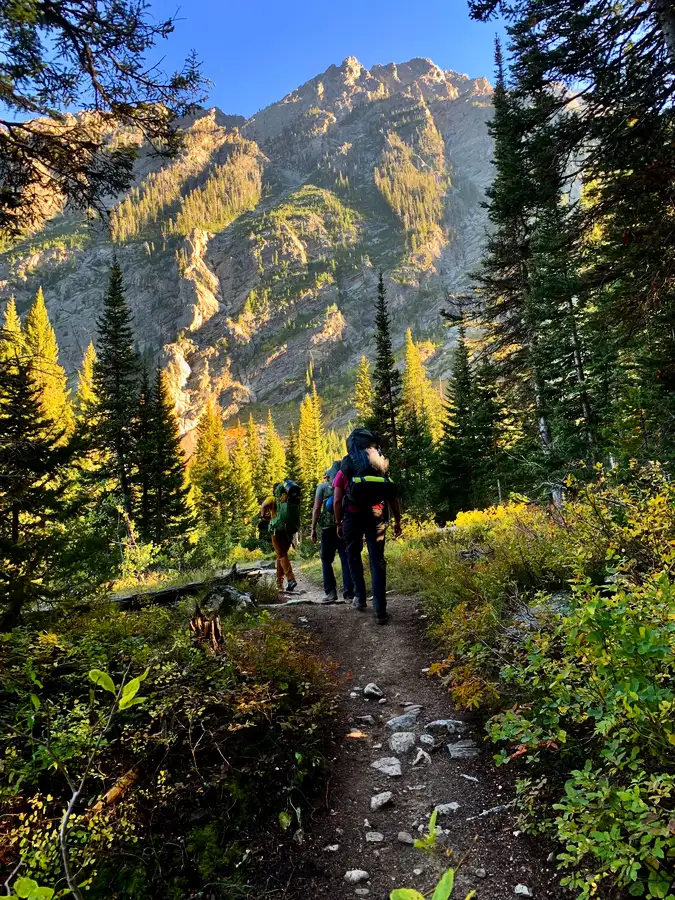
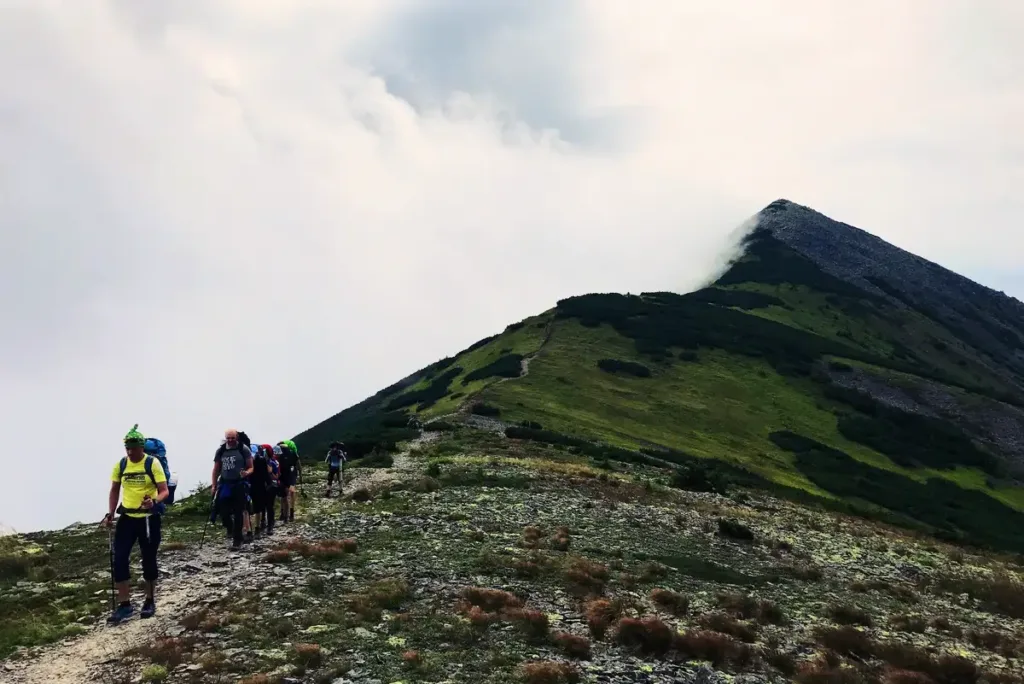
Downhill hiking, while a gravity-assisted breeze for some, can be a knee-wobbling challenge for others. If you’ve ever wondered why your knees throb in protest after descending a mountain, you’re not alone. Here’s your guide to pain-free downhill hiking.
Downhill walking puts extra stress on your muscles, tendons and joints. To prevent your knees from hurting when you hike downhill, use proper technique: Keep your knees bent, softly place your forefoot onto the ground, take short, frequent steps, don’t lean backwards, and focus on smooth, fluid movement. Frequent breaks and switchbacking help ease the burden. Prepare your knees for longer hikes by stretching and strengthening your legs. If you choose, you can use trekking poles, knee braces or tape to support your knees.
In this post, we’ll look into the reasons behind knee pain, debunk some common downhill hiking misconceptions, and arm you with proven techniques and the right gear to ensure knee-friendly descents. We’ll also share some conditioning exercises to prepare your body for the trails and recovery tips to keep knee pain at bay.
- Introduction
- Biomechanics of Hiking Downhill
- Causes of knee pain while hiking
- Are Beginners More Prone to Knee Pain?
- Common Beginner Mistakes When Hiking Downhill
- 1. Plan knee-friendly hikes
- 2. Use Proper downhill hiking technique
- Keep Your Knees Bent
- Proper Your Foot Placement
- Take Short Steps
- Lean in the Right Direction
- Engage your core
- Choose your steps wisely
- Speed Up Smoothly
- 3. More Trail Savvy for Your Downhill Hikes
- 4. Exercises to strengthen your knees
- Take on Shorter Descents
- Practice Smooth Stair Descents
- Go Uphill, Backwards!
- Strengthen Surrounding Muscles
- 5. Stretches to Prevent Hiking Knee Pain
- 6. Gear to Alleviate Knee Pain
- Trekking Poles: Your Downhill Companions
- Knee Braces: Extra Support When You Need It
- Bandages and Tapes: Customizable and Convenient
- Lighten Your Load: Every Ounce Counts
- 7. Caring for Painful Knees After a Strenuous Hike
- Diet: The Inflammation Fighter
- NSAIDs: Temporary Relief
- R.I.C.E
- Rest: Your Knee’s Best Friend
- Seek Professional Help if Pain Persists
- Conclusion
Biomechanics of Hiking Downhill
Knee pain during downhill hiking can be a real bummer for outdoor enthusiasts. To understand why it happens, it’s essential to grasp the biomechanics of your knee joint and the muscles involved in downhill hiking.
When you’re climbing uphill, your muscles produce force to overcome gravity and move your body upward. This is primarily a concentric muscle action, meaning your muscles are shortening as they contract. Your heart rate increases, you huff and puff, and you’re burning energy.
However, descending is a different ball game. All the gravitational potential energy you’ve gained climbing uphill now must be dissipated as you come back down. This might seem easy since gravity is on your side, but controlling your body’s descent is a complex task for your muscles.
Unlike uphill hiking, downhill hiking primarily involves eccentric muscle action. Eccentric contractions occur when a muscle lengthens under load. In the case of downhill hiking, as you step down, your knee bends and your thigh muscles, especially the quadriceps, contract and lengthen simultaneously to control the bending motion and stabilize your knee.
This eccentric contraction is like your body’s brake system, controlling your speed and maintaining your balance. However, it’s a harder task for your muscles than concentric contraction, leading to more muscle damage, which is one reason you might feel sore after a descent. On the plus side, due to the enhanced muscle damage, eccentric contractions build muscle and improve body composition moreso than concentric ones!
The following key muscles are involved in downhill hiking:
1. Quadriceps: Your quadriceps, especially the rectus femoris and vastus medialis, are the unsung heroes of downhill hiking. Located at the front of your thigh, they’re responsible for controlling the speed of your descent. As you step down, your knee bends, and these muscles contract eccentrically to slow this flexion, acting like shock absorbers.
2. Calf muscles: The calf muscles, which include the Soleus and Peroneus, extend your foot – for example, if you lift your heels off the ground to stand on your toes, that work is done by the calf muscles. When you hike downhill, the eccentric contraction of these muscles helps you slow down after your front foot makes contact.
3. Gluteus maximus: Your gluteal muscles, found in your buttocks, help to stabilize your body during a descent. They control the movement of your thigh and work in concert with your quadriceps to manage the knee’s flexion.
4. Tibialis Anterior: This frequently overlooked muscle, located in the front of your lower leg, is crucial for absorbing force during downhill walking. It is responsible for lifting the front of your foot; but more importantly on an incline, it works together with the calf muscles to control the arch of your foot, essentially turning it into a shock absorbing biomechanical spring!
5. Minor muscles: A number of tiny muscles around your knees and ankles are responsible for keeping you stable and your joints aligned. Once these muscles are too tired to contract properly, you will notice your gait becoming less precise, and be more prone to slipping.
Causes of knee pain while hiking
The muscle activity on a downhill slope differs markedly from normal walking on flat terrain. When walking on the flat, the stress on your knees is roughly equal to your body weight. However, during downhill hiking, your knees bear a force up to 7-8 times your body weight with each step. This repeated high-impact stress can lead to pain and inflammation of the knee joint.
The knee is an intricate, complicated system; and knee pain while hiking can be caused in a variety of ways:
- Tendonitis (inflammation of the tendons): Overuse or strain of the tendons around the knee, especially the patellar tendon, through repetitive movement can cause micro-tears. The body responds with inflammation of the affected tendons – referred to as tendonitis – leading to pain, typically at and below the kneecap. The healing process for inflammation can take longer, leading to persistent pain.
- Tight hamstrings and weakened quadriceps: These muscle imbalances can cause an uneven distribution of force across the knee joint, leading to extra strain and potentially causing tendonitis.
- Iliotibial band friction syndrome: Excessive friction between the iliotibial band and the knee joint, often due to tightness in the band or repetitive knee bending, can cause inflammation of the Iliotibial (IT) band and pain on the outside of the knee. This issue is called Iliotibial Band Syndrome (ITBS).
- Previous injury that has not fully healed: An improperly healed injury can leave the knee joint unstable or weakened, making it more susceptible to pain and further injury due to the lack of proper support and alignment. Always take it slow (slower than you think!) when recovering from an injury!
- Misalignment of the kneecap: If the kneecap doesn’t move properly in its groove (referred to as Patellar Tracking Disorder), it can lead to increased wear and tear on the cartilage, potentially causing pain and increasing the risk of osteoarthritis.
- Chondromalacia Patella (damage to the cartilage under the kneecap): This condition is often caused by misalignment or overuse of the knee, leading to wear and tear on the cartilage under the kneecap and causing pain and discomfort in the front of the knee.
- Knee osteoarthritis: This degenerative condition involves the breakdown of the cartilage in the knee joint due to wear and tear, inflammation, and aging. As the cartilage wears away, the bones rub against each other, causing pain and stiffness.
If you have persistent knee pain, or suspect you suffer from any of the last four conditions, definitely consult a doctor for a detailed diagnosis and treatment plan.
The less severe causes of knee pain, on the other hand, can be avoided by strengthening the muscles stabilizing your knees, stretching, and using proper technique for walking downhill. We will discuss all of these points below!
Are Beginners More Prone to Knee Pain?
Novices to hiking might experience knee pain more frequently or more intensely for a couple of reasons. First, if your leg muscles, particularly the quadriceps and hamstrings, are not sufficiently conditioned for the strenuous activity of hiking, they might not adequately support your knee joint. This lack of support can increase the stress on the joint itself, leading to discomfort and pain.
Secondly, beginners may not have fully developed the neuromuscular coordination needed for efficient downhill hiking. Neuromuscular coordination allows your body to move smoothly and efficiently, with muscles working together to support joints and control movement. Without it, your knees may take on more strain, contributing to pain.
Finally, beginners may not be aware of the correct techniques for hiking downhill and might adopt movements or postures that exacerbate the stress on the knees. As we’ll discuss in the next section, proper hiking technique can significantly reduce the risk of knee pain during downhill hikes.
Common Beginner Mistakes When Hiking Downhill
Let’s be real. Descending a slope is a skill that often gets left in the dust while the glory goes to climbing up. However, the art of going downhill is just as important, and it requires its own set of strategies. There are several common mistakes that beginners make when hiking downhill, many of which can lead to unnecessary strain on the knees.
1. Over-Braking: One of the most common mistakes beginners make is over-braking, or landing too heavily on their heels with each step. This is the body’s intuitive way of controlling speed during descent, but it can be detrimental to the knees. Think about it like driving a car. If you continually hit the brakes hard instead of gradually slowing down, it wears out the brake pads faster. Similarly, over-braking on a descent increases the forces acting on your knee joint, wearing down your biological “brake pads” (cartilage), leading to pain and, over time, potential injury.
2. Large Strides: Taking large, leaping strides while hiking downhill might seem like an efficient way to conquer the slope, but it’s a recipe for a knee disaster. Large steps increase the height from which you land, thereby increasing the impact forces on the knees.
3. Incorrect Body Lean: Leaning too far back is another common blunder. It might feel safer to lean back to counter the pull of gravity, but this misalignment can put more strain on your knees. It can change the direction of the forces going through your knees and puts them in a less efficient position to absorb shock.
4. Rigid Body: Descending with a rigid body can add to the woes of downhill hiking. Going downhill requires fluidity of movement, allowing your body to absorb the irregularities of the terrain. Rigidity prevents this shock absorption, passing the shock directly to your knees.
5. Neglecting Arm Work: Arm work is often underrated in hiking. Swinging your arms helps to counterbalance your body, stabilizing you during tricky descents. It can also take some load off your knees by spreading the impact of each step throughout your body.
6. Ignoring The Terrain: Finally, not paying attention to the terrain and failing to adjust your foot placements accordingly can lead to increased knee stress. A slippery rock or an unexpected tree root can catch you off guard, causing abrupt movements and sudden jarring forces through your knees.
So, what to actually do to prevent and avoid achy knees during your hikes? Here are our top tips:
1. Plan knee-friendly hikes
A lot of problems can be prevented by planning ahead, and knee issues are one of them. Here are some things to keep in mind when planning your hike:
Gradually Increase Downhill Trekking
The key to hiking downhill without causing a knee revolution is to take things slowly and incrementally. The art is in building up your endurance gradually, just like you would while preparing for a marathon.
If you already have a predisposition to knee troubles, this is particularly crucial. The last thing you want is for your love of the outdoors to be soured by discomfort or injury. Start with trails that have a modest downhill section. As your strength and resilience grow, so too can the amount of downhill trekking you incorporate into your hikes.
Opt for Soft Ground
The surface you’re hiking on matters. It can make a world of difference to your joints. Mother nature’s floor is generally a lot kinder to your knees than the hard, unyielding surfaces of roads or concrete paths.
When planning your route, look for trails that have a good covering of soft ground. Forest paths, fields, and dirt trails can offer you this. Not only do these softer paths provide a bit of extra padding, but they also engage your muscles in different ways, helping to build strength and resilience.
Start High and Fresh
Another clever tactic is to start your hike at a higher point, going downhill first. When you start your hike, your muscles are at their freshest. This is the best time to face the more challenging downhill sections. Going down demands more of your muscles than you might think!
By taking on the descent first, you’re less likely to put unnecessary strain on your knees. After you’ve reached the bottom, you can then hike back up. You might think that this sounds counterintuitive, but going uphill is actually less taxing on the knees.
2. Use Proper downhill hiking technique
The key to a happy descent is to avoid sudden shocks. Imagine if you were performing a one-legged jump off a box. How would you land? As softly as you can, right? Well, that’s how you should treat every step when hiking downhill.
Each downhill step you take, your legs need to absorb energy. If your foot lands hard, this energy turns into a shock, stressing and straining your muscles, tendons, and ultimately, your knees. The aim is to instead absorb this energy using only your muscles in a smooth, fluid manner, not unlike how a spring or a shock absorber would.
Keep Your Knees Bent
Never lock your knees when hiking downhill. Keeping your knees bent at all times, especially when your leading foot lands, helps mitigate impact forces that could otherwise travel up your leg and straight into your knee. If you only take one thing away from this post, let it be this: Never ever stomp downhill onto a straight leg.
Proper Your Foot Placement
There is a lot of advice out there saying to land heel first, then roll over your foot. I wholeheartedly disagree. Such gait might be feasable if your shoes have cushioned heels – and I mean extremely springy cushioned heels able to absorb ALL of that shock.
But if you wear more minimalist shoes – or even just if your normal hiking boots have a hard sole or are slightly worn out – landing on your heel prevents you from using the natural springiness of your foot to soften your step, and sets you up for a harsh landing. Think of the “jumping off a box” analogy again – would you ever consider landing on your heel in that situation? Didn’t think so.
Instead, I find it’s much softer to bend your back leg more – absorbing more of the energy in its quadriceps – and land on the ball of your leading foot, only slightly in front of your center of mass, with the knee slightly bent. Engage your calf and tibialis muscles to softly bring the rest of your foot down. This way, you can walk completely smoothly, taking full advantage of all of your leg muscles to ensure gentle, shock-free stride.
Take Short Steps
This foot placement technique directly forces you to take small steps (as you cannot land your foot far in front of your body). This has the additional benefit of distributing the force over more steps; plus you’re less likely to slip if you softly place your feet close to underneath your center of mass. Speed up by taking more frequent steps, not longer ones.
Lean in the Right Direction
The more you lean your upper body forward, the faster you will be. Resist the instinctual urge of leaning backwards in an attempt to counteract the downhill slope though; this puts additional strain on your knees. Instead, maintain an upright posture or lean slightly forward.
Engage your core
Maintaining a controlled, smooth gait over a long time needs a strong, stable core. Think of pulling in your belly button, and flexing the muscles around your belly. You’ll likely find that it becomes much easier to softly land your feet.
Choose your steps wisely
On more technical trails with lots of roots or rocks, it is extremely beneficial to learn to quickly decide where to place your foot on the next step. Ideally, you’d apply forces that don’t hurt your knee – that is, perpendicular to your lower leg rather than “sliding forward” type forces – and avoid slips (which can quickly lead to micro-tears from having to re-stabilize yourself in a split second).
This skill can only really be honed through real-life experience, but here are a few tips:
- Avoid slippery surfaces: Mossy or loose rocks, mud puddles, fallen branches, etc.
- Sharp edges of rocks provide good traction.
- Stepping on surfaces angled towards you allows you to slow down (by “jumping against them”) without danger of slipping forward.
- Leaf litter is soft, but can be slippery when wet – use with caution.
- On steep descents, also pay attention to trees you can use to hold on to.
Speed Up Smoothly
As you grow more comfortable with the techniques of downhill hiking and build up strength, you may find it helpful to speed up slightly. A faster pace can provide a stability boost by reducing the time each foot spends on the potentially uneven ground. Remember, only increase your speed as long as you can maintain a fluid, shock-free motion. Think of your legs as large wheels, rolling down the hill in a controlled manner.
3. More Trail Savvy for Your Downhill Hikes
Even with the best laid plans and techniques, a few extra tips can prove useful when out on the trail. Here are some additional suggestions for ensuring your knees stay happy during a hike.
Take Regular Breaks
Never underestimate the power of a well-timed pause. It’s an effective way to let your leg muscles recuperate. After all, they’re the ones working hard to absorb all the downhill energy and keep your knees comfortable. So, feel free to stop, take a breather, and soak up the beautiful surroundings. Give your muscles the rest they need, so they don’t get too tired to protect your knees.
Master the Art of Switchbacking
If you’re facing a steep slope, switchbacking is your friend. This technique involves zigzagging your way down the slope, effectively reducing the slope’s severity. Each individual section of your descent becomes less steep, taking some pressure off your knees. It may lengthen your trail time slightly, but your knees will thank you.
If all else fails: Go Backwards
If despite your best efforts, your knees start sending out distress signals, and you still have a long way downhill to go, there’s one more trick you can employ: walk backwards. It sounds unusual, but it can offer a surprising amount of relief by shifting the strain to different muscles. This tactic is slow and requires extra caution to avoid tripping, but it could be the ace up your sleeve when you need it most.
4. Exercises to strengthen your knees
Strengthening your knees is not just about making them more resilient, it’s about improving your overall hiking experience. With stronger knees, you can tackle a wider variety of terrains and gradients, and your hikes become more enjoyable. Let’s delve into some exercises that can help fortify those knee joints.
Take on Shorter Descents
Training on shorter descents is another practical way to improve your strength and technique. This study shows how training on shorter descents can enhance your performance and endurance for longer hikes.
Practice Smooth Stair Descents
Stairs are your training playground. Regularly walking down stairs can help improve your leg strength and knee resilience. Make sure to do this smoothly and controlled, as you would when hiking downhill, to get the maximum benefits. Once you get stronger, you can even practice skipping steps (hold onto the railing for safety first, though).
Go Uphill, Backwards!
Hiking uphill backwards trains the very muscles you use when going downhill, providing a surprisingly effective workout. Choose a hill that is steep and long enough to make your legs feel tired once you’re on top, and ascend it backwards for 1-5 sets. Be very careful coming back down though – the muscles protecting your knees are tired!
This is more than just a workout for your muscles: Since walking uphill backwards is the exact reverse of safe downhill walking, it helps you get used to the movement. Be mindful of how your foot pushes off the ground, as this is the reverse of landing your foot smoothly when hiking downhill.
Strengthen Surrounding Muscles
Fortifying the muscles around your knees can help take the pressure off these joints. The quadriceps, glutes, calves, and tibialis, as well as smaller “stabilizer muscles,” all play a role in supporting your knees. Strengthening these through regular workouts can provide significant benefits.
Squats, lunges, step-ups and box jumps are all excellent exercises for strengthening your quadriceps and glutes. Additionally, here are some exercises more targeted at preparing your knees for safe descents:
Straddle good mornings, bent knee calf raises and sissy squats:
Poloquin step ups, single leg calf raises, knee circles:
Backwards walk, Tibialis raises, ATG split squats:
5. Stretches to Prevent Hiking Knee Pain
Proper stretching can work wonders for preventing knee pain associated with hiking. By keeping your muscles flexible and strong, you can help your knees handle the strains of the trail. Here are a few stretches you might want to incorporate into your pre- and post-hike routine:
Quad Stretch
The quadriceps, located at the front of your thigh, are crucial for knee stability. To stretch them, stand upright, grab your right foot with your right hand, and pull towards your buttock. Keep your knee pointed down and feel the stretch in the front of your thigh. Repeat with the other leg.
Hamstring Stretch
Sit on the ground with one leg extended out in front of you and the other bent with the foot against the inner thigh of your extended leg. Lean forward from your hips, keeping your back straight, until you feel a stretch in the back of your thigh. Repeat with the other leg.
Calf Stretch
Tight calf muscles can contribute to knee pain. To stretch them, stand facing a wall with one foot in front of the other. Keeping your rear knee straight and heel on the ground, lean into the wall until you feel a stretch in your rear calf. Repeat with the other leg.
Glute Stretch
Lie on your back and bend both knees. Cross one leg over the other so your foot is on the opposite knee. Bring both knees towards your chest and gently pull the uncrossed leg towards you until you feel a stretch in your buttock. Repeat with the other leg.
Hip Flexor Stretch
Kneel on one knee with the other foot in front with the knee bent. Push forward gently, keeping your back straight, until you feel a stretch in the front of your hip. Repeat with the other leg.
IT Band Stretch
Your iliotibial band runs along the outer thigh, from the hip to the knee. To stretch it, cross one leg behind the other. Lean slightly forwards and to your rear leg side until you feel a stretch on the outside of your hip. Repeat on the other side.
These stretches, combined with regular strength training and proper hiking techniques, can go a long way towards preventing knee pain during your hikes.
6. Gear to Alleviate Knee Pain
While hiking downhill doesn’t necessarily require special gear, certain pieces of equipment can certainly be a big help when it comes to preserving the health of your knees. Let’s explore a few options that can support your hiking adventures:
Trekking Poles: Your Downhill Companions
Trekking poles are a great tool to reduce pressure on the knees and provide additional support and balance. Think of them as your additional legs, helping distribute the load and thus lessening the burden on your knees. Especially when descending, adjust the length of your trekking poles to allow for a comfortable and efficient support angle.
Knee Braces: Extra Support When You Need It
A knee brace can provide your knee joint with additional support, which can be particularly beneficial if you have existing knee problems or if you’re planning a challenging hike. Always make sure that the brace fits well and does not restrict your movement too much.
Bandages and Tapes: Customizable and Convenient
Suitable bandages or professionally applied tapes can also lend support to your knee. The advantage of this approach is that the level of support can be customized to your needs. However, the correct application is key to their effectiveness.
Lighten Your Load: Every Ounce Counts
Last but not least, aim to reduce the weight of your gear. The heavier your backpack, the more stress your knees will have to endure. A lighter pack makes a huge difference, especially on downhill sections – one of the major perks of ultralight hiking!
7. Caring for Painful Knees After a Strenuous Hike
Despite all our best efforts, there might be times when you finish a hike and feel that all-too-familiar twinge in your knees. Here’s what you can do to alleviate knee pain and encourage recovery after a strenuous hike:
Diet: The Inflammation Fighter
Believe it or not, what you eat can significantly impact inflammation in your body. A diet rich in green leafy vegetables, olive oil, tomatoes, nuts, strawberries, fatty fish, blueberries, oranges, and cherries can be a powerful tool against inflammation. Omega-3 fish oil supplements can also be a worthy ally in reducing knee discomfort.
NSAIDs: Temporary Relief
Nonsteroidal anti-inflammatory drugs (NSAIDs), like aspirin, naproxen, and ibuprofen, can offer temporary relief from pain and inflammation. Be aware, however, that these should be used sparingly after a strenuous hike, as they can be tough on your already busy kidneys. Always follow the recommended dosage and consult your doctor if you have any concerns.
R.I.C.E
Rest, Ice, Compression, and Elevation (R.I.C.E.) is an age-old method to help treat knee pain after hiking. Rest is crucial to allow your body to heal. Ice can reduce inflammation and numb the pain. Compression with a bandage can support the knee and reduce swelling. Elevation can help drain fluids that might accumulate around the knee due to inflammation.
However, this is a method for temporary relief, and shouldn’t be applied persistently. The acute inflammation has a purpose: blood flow to the damaged area is increased, so that waste products can be removed, and materials for reparing the tissue can be delivered. Icing the swollen area every now and then might help with removing waste products, but keeping it consistently iced instead slows recovery.
Rest: Your Knee’s Best Friend
While the adventure of the trail might be calling, don’t rush back into strenuous activity while your knees are still hurting. Proper recovery is vital to avoid further damage and chronic pain down the line.
Seek Professional Help if Pain Persists
If knee pain continues despite your best efforts, don’t hesitate to consult a doctor or physical therapist. Persistent pain is your body’s way of saying that something isn’t right, and professional help can guide you towards the best course of action.
Conclusion
And there you have it, trail dwellers! Downhill hiking doesn’t have to be a knee-shattering experience. Like any good hike, it’s about the journey, not just the destination. The same goes for your approach to knee health. Gradually increasing your downhill distances, employing the right techniques, stretching and strengthening your muscles can all contribute to a knee-friendly hike.
Don’t let the fear of knee pain rob you of the joy of downhill hiking. With some preparation, attention to technique, and care, you can enjoy all your descents while preserving your knees. Keep your gear light, lean into the adventure, and let the wonders of the trail unfold beneath your feet.